Step By Step - How To Install Windows Server 2016
 Ganga Sagar
Ø What are the hardware requirement for windows server 2016?
System Requirements
| Component | Minimum | Recommended | Maximum |
| CPU Socket | 1.4 GHz (64-bit processor) or faster for single core 1.3 GHz (64-bit processor) or faster for multi-core |
3.1 GHz (64-bit processor) or faster multi-core | 2 sockets |
| Memory (RAM) | 2 GB 4 GB if you deploy Windows Server Essentials as a virtual machine |
16 GB | 64 GB |
| Hard disks and available storage space | 160-GB hard disk with a 60-GB system partition | No limit |
- DVD-R/W Drive or any bootable media
- Internet access (to activate and get updates)
Ø How to Install Windows Server 2016 ?
Installation Process
-
Boot your system with bootable media. Like DVD, bootable pen drive , LAN etc. For this demo we are using Windows Server 2016 DVD.
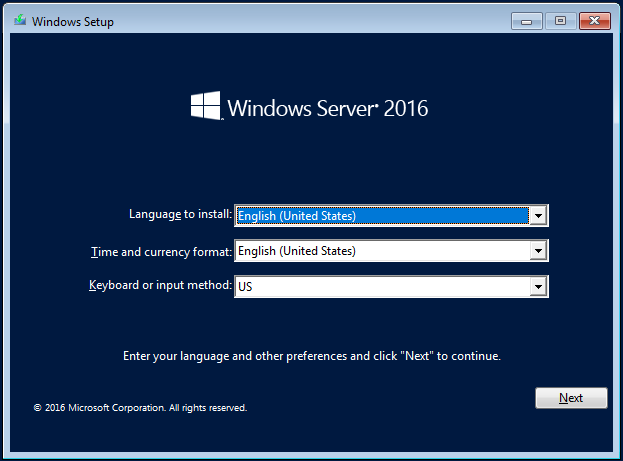
When we’re asked to press a key to boot from DVD or CD, press any key. A Sky blue Windows logo will appear after the DVD content is read. After that a window will be appear to choose language, time format and input method, make the selection as per your preferences.
-
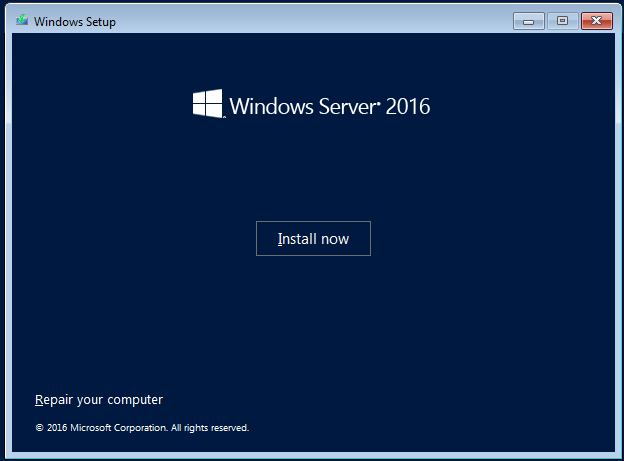
After selecting appropriate information click “Next”. In next window we will select “Install Now”.
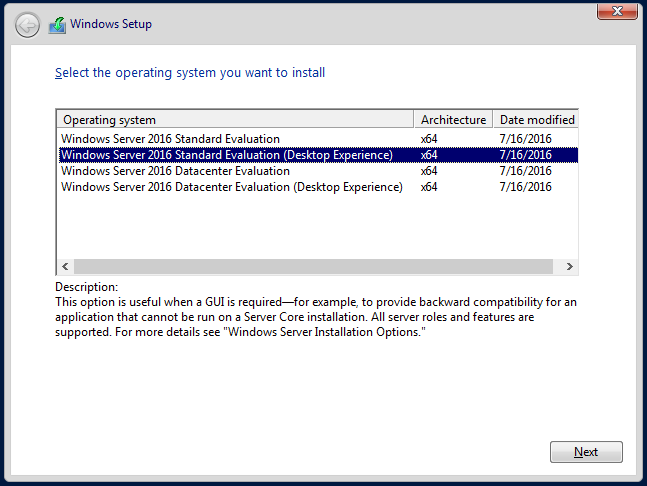
3. In next window we have to select which version of Windows Server 2016, want to install. Here we could see different kind of options depending on installation media. In earlier Windows we have 2 mode, like core and non-core. Here in Windows Server 2016 we have same mode options but with little difference of name. In earlier windows core mode version had a prefix with “ core “ But here non-core mode has suffix “Desktop Experience”
Here we are selecting “Windows Server 2016 Standard Evolution (Desktop Experience)” and then click on “Next”.
** If we want to install core mode then we will select “none desktop experience ”. like 1st and 3rd .
-
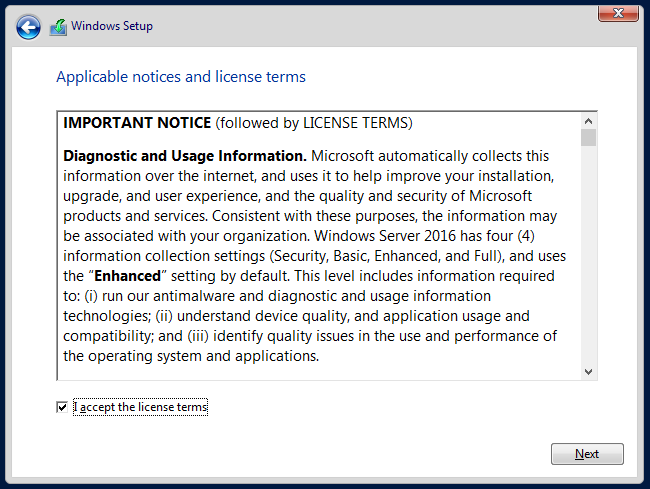
Here we will accept license terms and then click on “Next”.
-
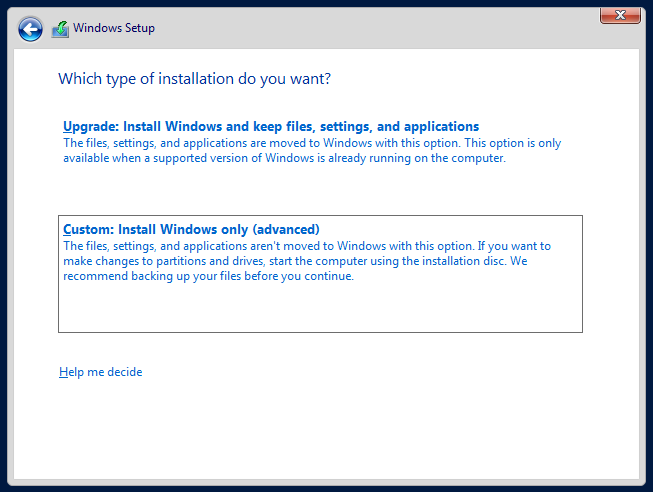
In appeared window we have to select type of installation. As we are doing fresh Windows installation so we will select 2nd option “Custom: Installation Windows only (advanced)”.
-
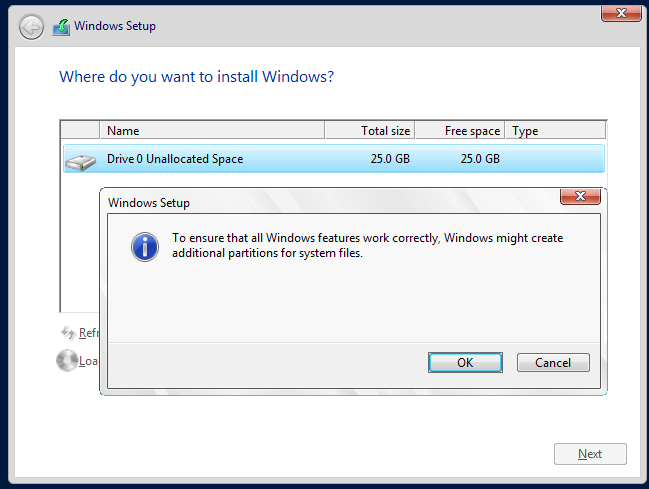
In next window we have to select in which partition or drive, want to install Windows. Here we have single HDD with 25 GB unallocated space so we will create a new partition here. Click on “New” and enter the size of required space (in MB) and then apply.

-
A pop up window will be comes with message “To ensure that all Windows features work correctly , Windows might create additional partitions for system files”. click on ok .
-
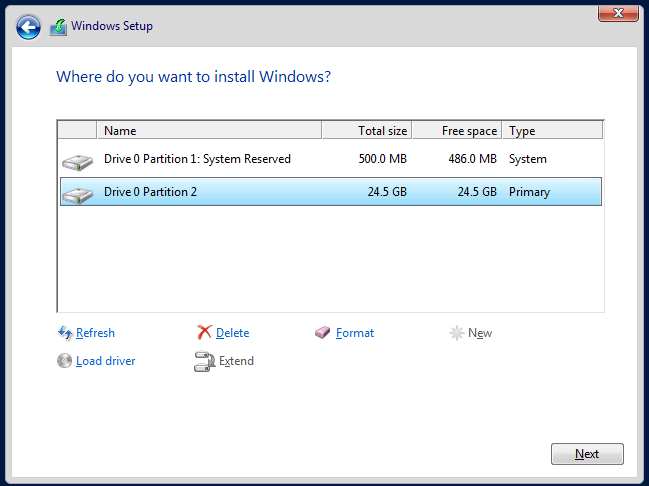
After that a new partition will be create automatically with the size of 500 MB for system files.
Now here select the actual partition, where we want install OS and click “ Next ”.
-
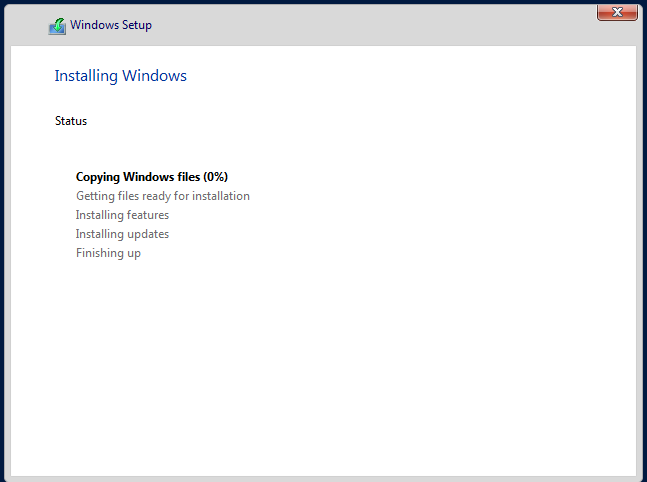
Now Windows installation will be start and it will be take about 20 minutes to install Windows and its component (Like Features and updates).
-
After completion of Windows installation system will be restart automatically.
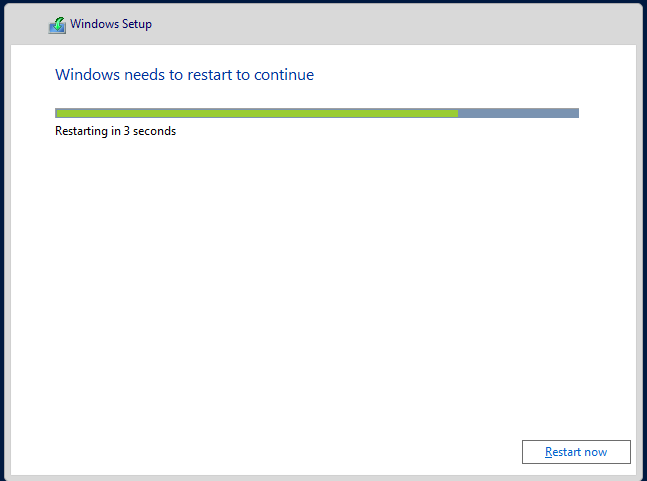
-
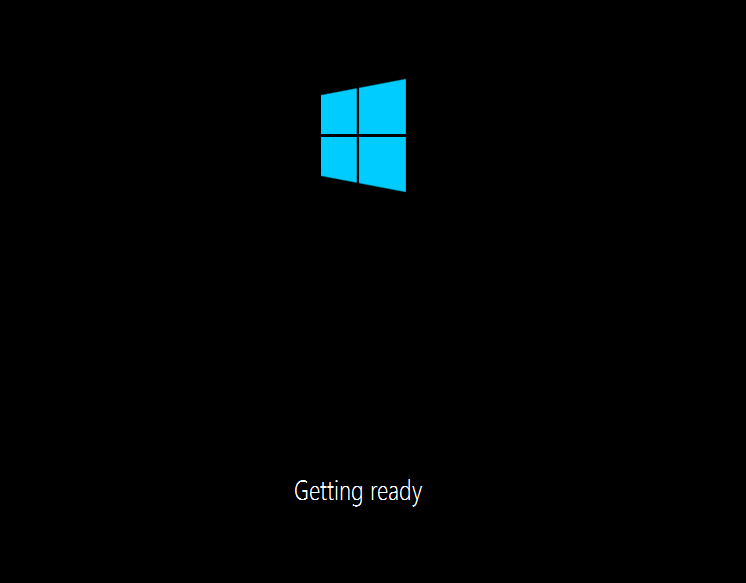
After system restart rest installation process will be start automatically.
-
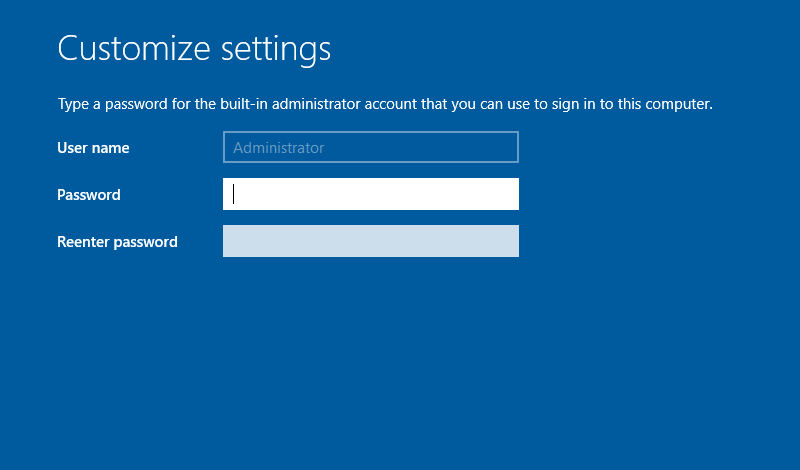
Once Installation process will be complete. it will ask to set password for Administrator account.
-
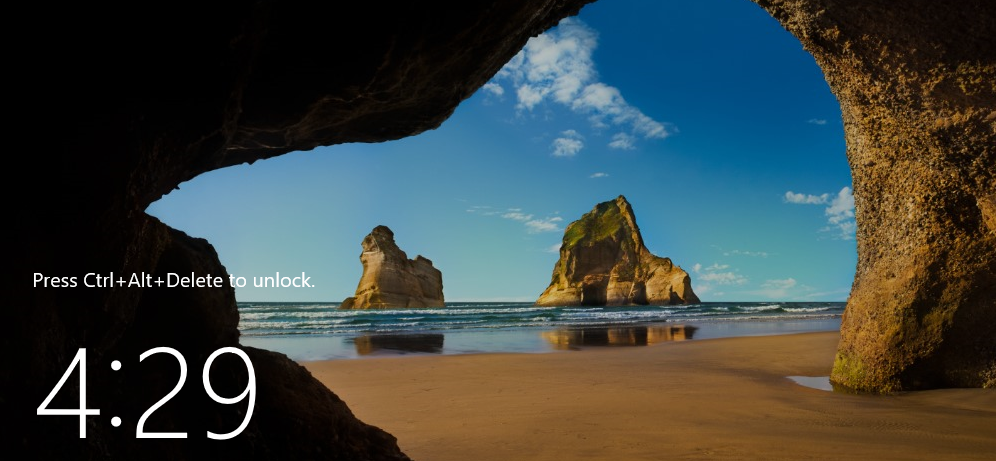
Once all set we are ready to log in .
Drop your feedback
Note : You are required to be logged-in as a user to leave a feedback.