Windows Update & WSUS Installation\Uninstallation And Client Configuration
 Ganga Sagar
Why we should update Windows?
It is critical to install security updates to protect your computer from vulnerabilities & malicious attacks. In order to stable and error free operation, it is also important to install software updates, not only to access new features, but also to be on the safe side in terms of security loop holes being discovered in outdated programs.
If you will keep your Windows updated, you will get below benefits.
- Protection of Your System From Malicious Software
- Resolution of reported General Windows Issues and Bugs
- Access of New Windows & Software Features
How to get Windows update?
If you are using single laptop or Desktop then you can use “Windows Update” feature of your operating System.
https://support.microsoft.com/en-in/help/12373/windows-update-faq
To turn on automatic updates in Windows 10:
- Click on Start button, then select Settings -> Update & security -> Windows Update.
- If you want to check for updates manually, select check for updates.
- Select Advanced options, and then under Choose how updates are installed, select Automatic (recommended).
To turn on automatic updates in Windows 7:
- Click on Start button, In the search box, enter Update, and then, in the list of results, select Windows Update.
- In the left pane, select Change settings, and then under Important updates, select Install updates automatically (recommended).
- Under Recommended updates, select the Give me recommended updates the same way I receive important updates check box, and then select OK.
How to get Windows update if you have hundreds of machines?
If you have 1 or 2 or 10 machines then you can follow above steps. But what if you have hundreds of machines.
Let’s assume if you use windows update to update all machines. In order to do so, you have to do lots of efforts and drawbacks.
- Lots of efforts mean dedicated Human resources for windows update.
- High Bandwidth utilization – Each Machines will get update from Internet.
- Time investment.
- Over head of record update (which machine is updated or not)
- Chances of Human error.
- Report (Need to pull manual patches and update lists)
- End User inconvenience.
Thanks to patching software available in market like WSUS, SCCM, SolarWinds Patch Manager, ManageEngine Desktop Central, LANDesk Patch Manager, Shavlik, GFI LanGuard etc. Due to which we overcome with from above drawbacks.
Most of patch management tools are paid and some are too costly. So we are going to describe and use Microsoft FREE tool WSUS.
What is WSUS?
Windows Server Update Services (WSUS) is formerly known as Software Update Services (SUS). It is free Service, comes along with Server grade operating System. We can install it as Server Role.
Advantages of WSUS.
- Its FREE of Cost.
- Supports most of Windows operating Systems.
- Supports all Microsoft application/product update.
- Laptop, Desktop and Server can be patched centrally.
- Can patch Domain and Non-Domain machines.
- Install updates in background. No or less user interference.
- Download patches from Microsoft or can download from Upstream WSUS to save Bandwidth.
- Robust Reporting. You can generate reports on status of updates, synchronization results, and settings summary.
- Supported Update types.
- Security updates
- Non-security updates (critical and non-critical) and update rollups
- Service packs
- Feature packs
- Critical driver updates
- Tools
- Guidance
- Development Kits
- Drivers
- Connectors
Minimum Requirement for WSUS on Windows Server 2008 R2.
•The CPU, graphics card, memory, and other hardware components must be sufficient to run the installed operating system.
•I/O subsystem: Fast ATA/IDE 100 hard drive or equivalent SCSI drive is recommended.
•Network adapter: Minimum 10 MB; however, 100 MB or more is recommended.
•Working Internet connection.
•Firewall should be configured in such way so server can access the downstream Microsoft server.
•Both the system partition and the partition on which you install WSUS 3.0 SP2 must be formatted with the NTFS file system.
WSUS 3.0 SP2 cannot be installed on disk volumes in which compression has been enabled.
-
Minimum 1 GB of free space on the system partition.
-
Minimum 2 GB of free space on the volume on which the database is stored.
-
Minimum 20 GB of free space on the volume on which updates are stored; however, 30 GB is recommended.
Minimum Requirement for WSUS Client.
-
The CPU, graphics card, memory, and other hardware components must be sufficient to run the installed Windows operating system.
-
HDD space : Depends upon available updates.
-
Working LAN connection so client can access the server .
-
Firewall should be configured to download updates from server.
( If a client computer is set up using an image, the client computer might not display in the WSUS Administration Console, or it might display the console but incorrectly report update data. This issue occurs because the imaged client has a duplicate SusClientID value in the registry. To resolve this problem, you must clear the SusClientID and SusClientIDValidation registry values. about how to clear the registry values, see article 903262 in the Microsoft Knowledge Base )
Before Installing WSUS server we should know what is this and How it works.
Windows Server update services allow network administrators to specify in Microsoft updates that should be installed, to create separate groups of computers for different sets of updates, and to get reports on the compliance levels of the computers and on the update that must be installed.
By using this we can download all updates centrally and deliver to the clients without internet, which is required for the windows products. like Windows Operating system, Microsoft Office, active directory etc. For each and every client internet access is not required to download updates from Microsoft update server, just a working connection with WSUS server is required.
How to install WSUS on Windows Server 2008 R2 .
To install WSUS Server.
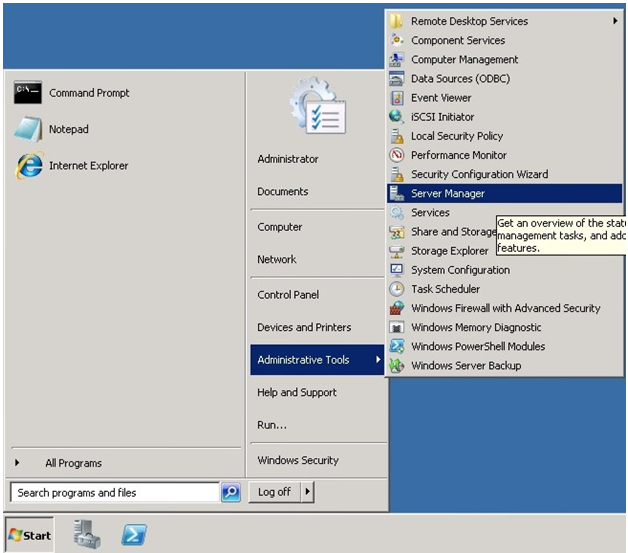
1. Go to Start > Administrative tools > Server Manager
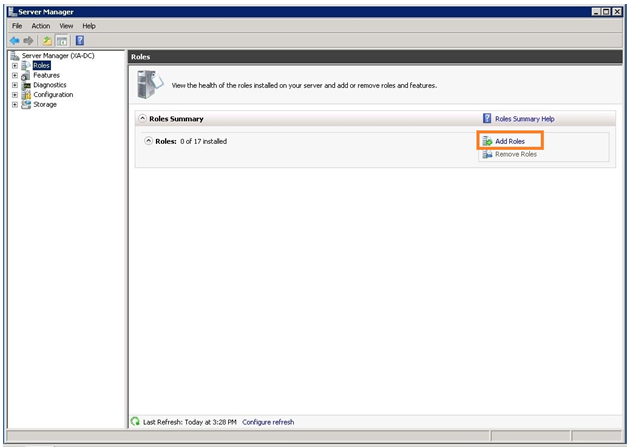
2.Then a Server Manager console will be open. As we have to install WSUS role so we will click on “Roles” Tab and then click on “Add roles”
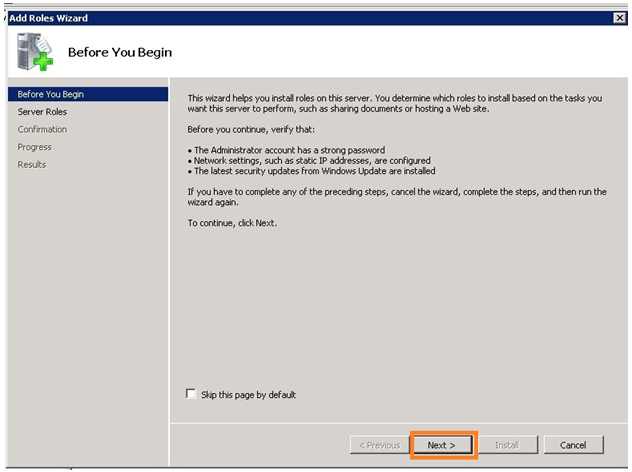
3. When we will click on it then a “Add Roles “ wizard will be open. here some suggestion is shown for better performance and security. If we don’t want to see this page on each “Add Role” wizard then we can check “Skip this page by default“. It’s not necessary so we will click on “Next”.
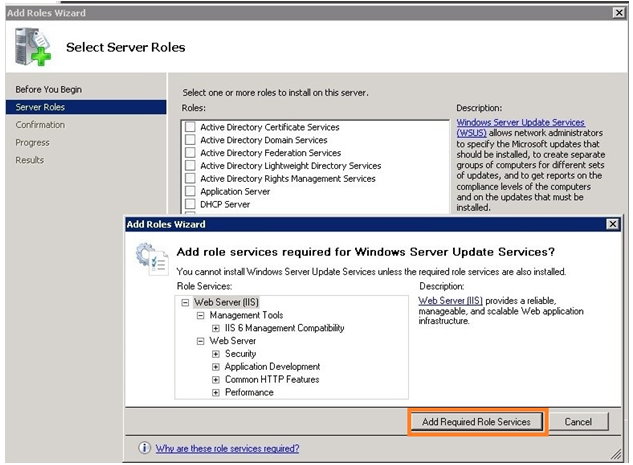
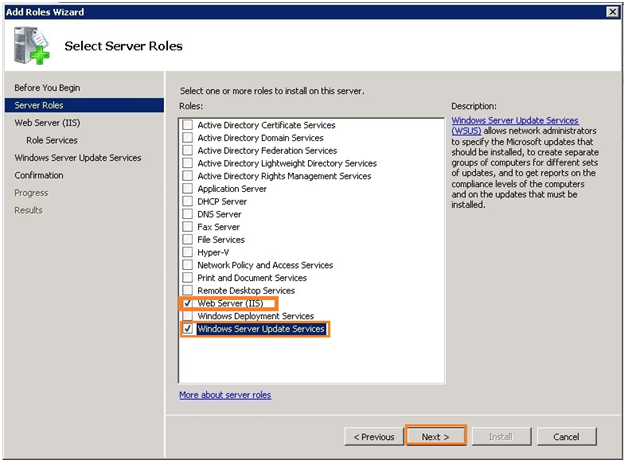
4. In this window we have to select which Roles we want to install so we will check the “Windows Server Update Services (WSUS)” . When we check that role check box a child Add Roles window will be open. As WSUS uses some IIS roles services to work properly so we need to install those role services
( we don’t need to select them , all required roles services will be select automatically)
We have to click on “Add Required Roles Services”
5. In “Next” window we will see that now 2 roles are checked.
- Web server (IIS) *some services only.
- Windows Server Update Services
Now here we will click “Next”
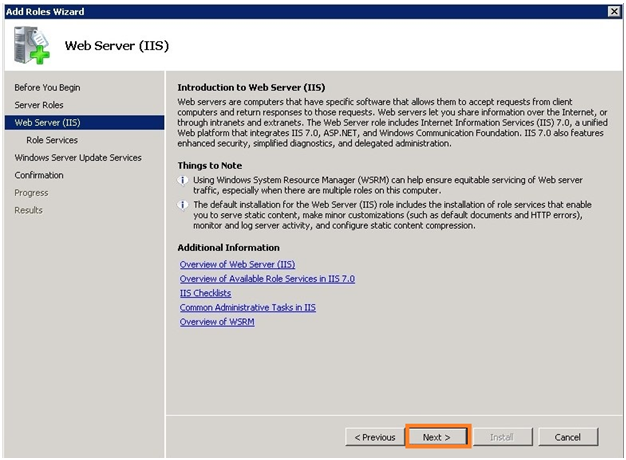
6. The opened window will be related to Web server (IIS). Here nothing to do so we will click on “Next”.
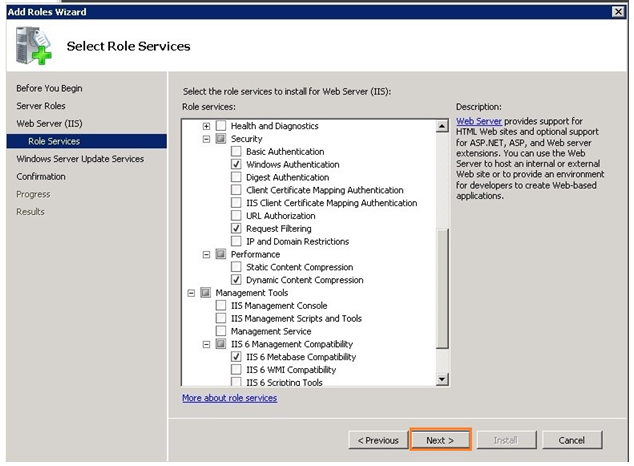
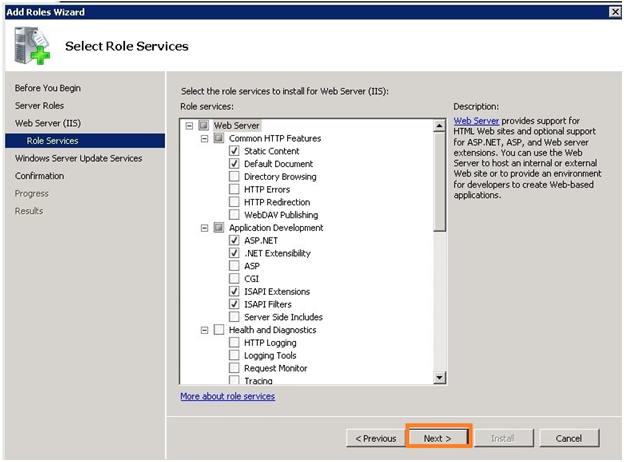
7. In this window we will see IIS Role Services list. As required roles services are selected automatically by WSUS Role Service, so we don’t need to modify any selection. But Future reference we should know about these role services. So have a look to all the services and then click “Next”.
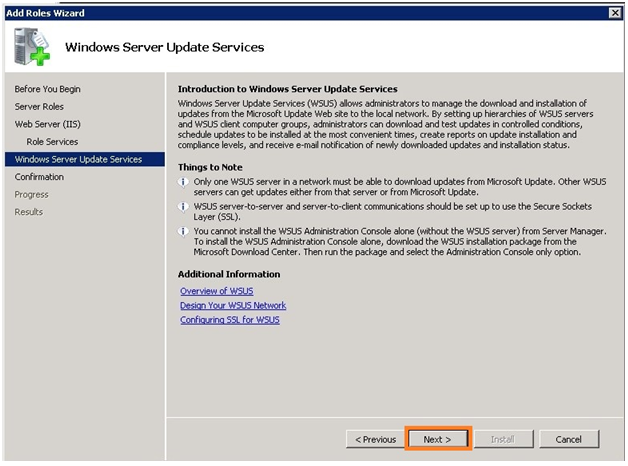
Once IIS role window will be close , we will come to WSUS role Introduction window. Here nothong to do so click “Next”
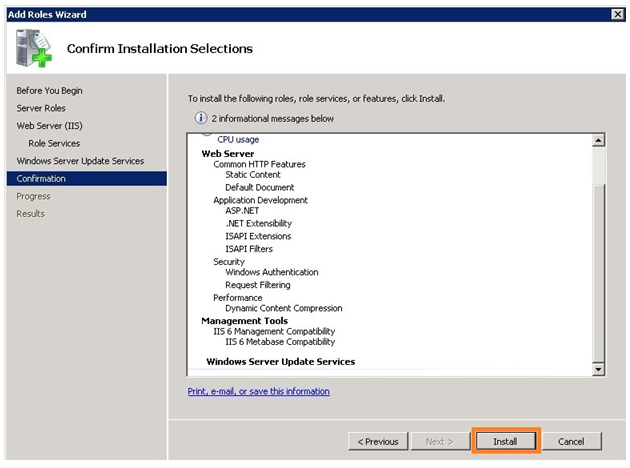
8. Now confirmation window will be open with the list of the roles services which are going to be installed on our server. simply click on “Install”
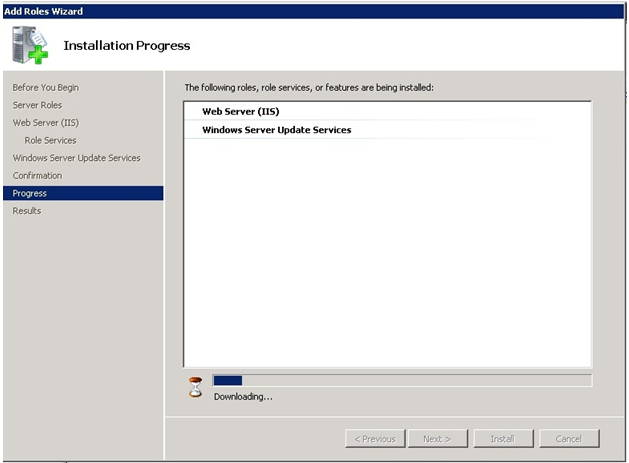
9. Once installation will be start it will be check for the updates over internet and will download it. After downloading it will install all the updates. It will take few time depends upon the internet connection.
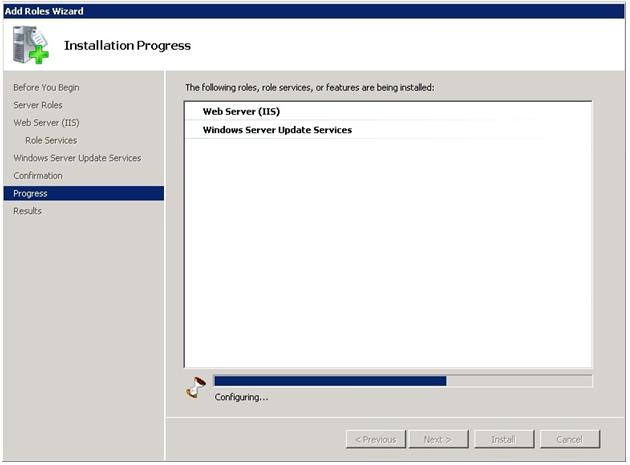
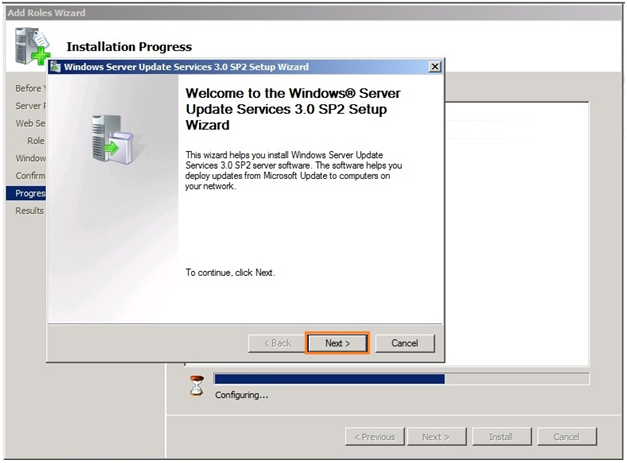
10. After installing updates while configuring it will looks like stuck on that stage. Don’t scared just click on the installation icon on the taskbar. Actually a child window is running in the background which will be come to front.
11. When we will click on that we will get a WSUS setup child window. Click on “Next” here
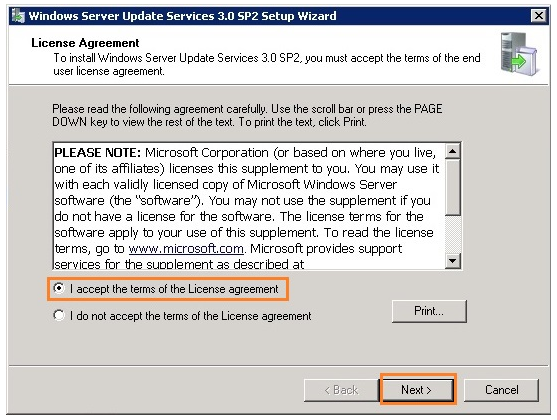
12. Now a License Agreement window will be open. Here just select the “I accept the terms of the License agreement.” and click “Next”
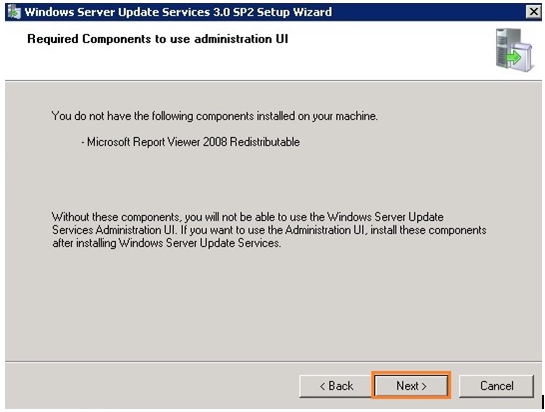
13. To manage WSUS through UI some components is required. So click “Next” here
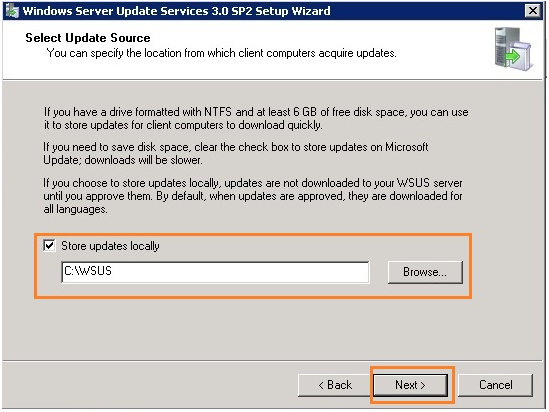
14. In this window we have to select the location where updates will be stored for the client machines. click “Next”
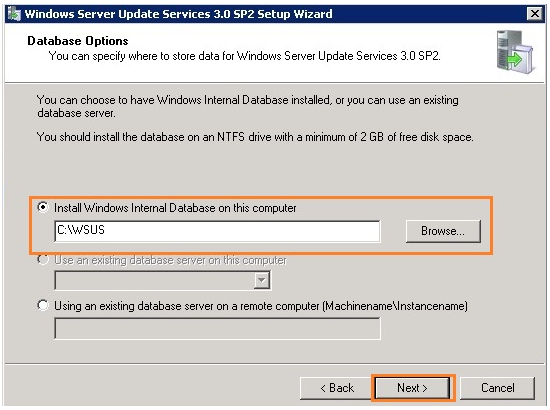
15. In this window we have to choose the location for WSUS Database. That should be on NTFS partition with minimum 2 GB space. Click “Next”
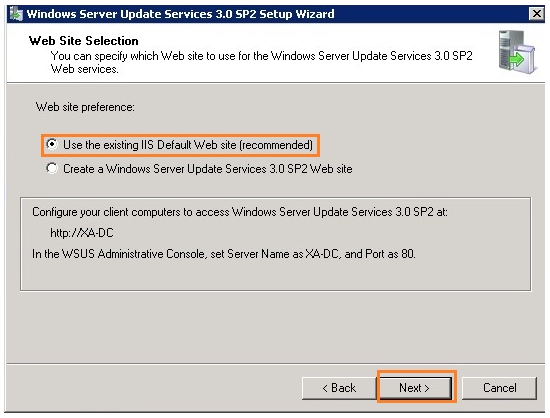
16. In this window we have to specify the website which will be used by WSUS web services. As Its fresh installation and standalone server (not others roles are installed) so we will select “Use the Existing IIS Default Web site (recommended)” and click “Next”.
- The default website name and port will be
Http://hostname:80 (hostname will be our server name)
17. In this window we can see the a sort info regarding the location of respected data. Click “Next”.

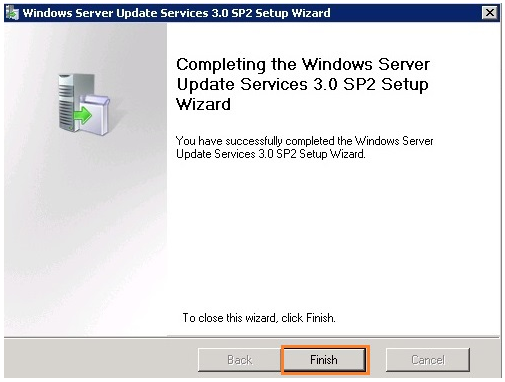
18. When WSUS setup wizard will be complete just click on “Finish”.
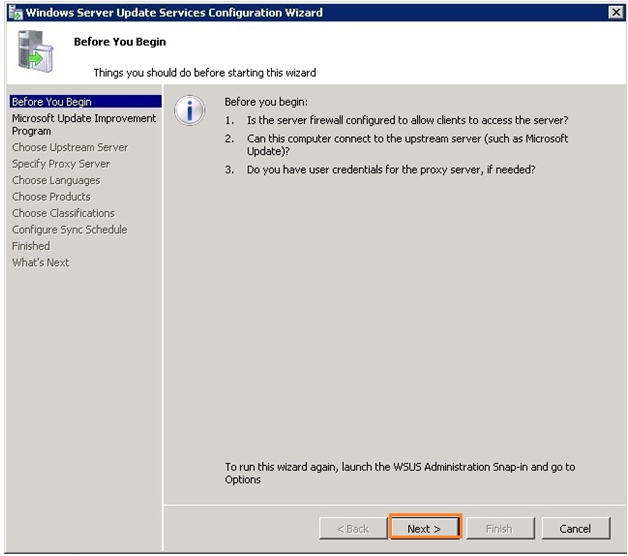
19. Once Setup process will complete then “Windows Server Update Service Configuration” wizard will be open. On Before You Begin window just click on “Next”
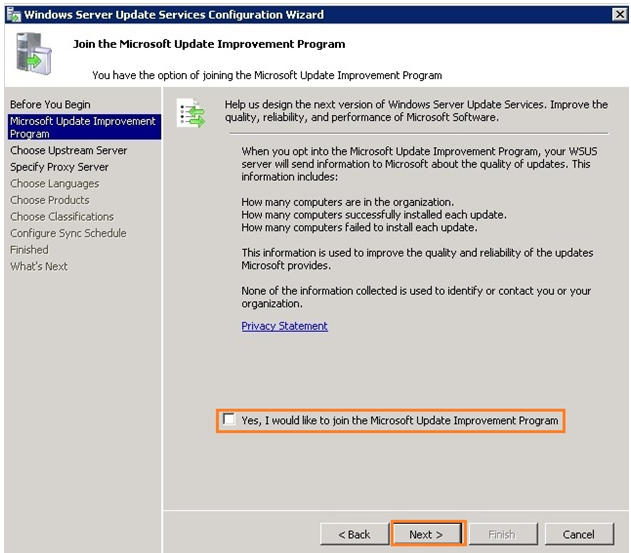
20. In this window we have the option to join the “Microsoft Update Improvement Program”. If we join the Program then WSUS server will send the logs to the Microsoft to improve their service. If we don’t want to share such info with Microsoft the we should not check this option and click “Next”.
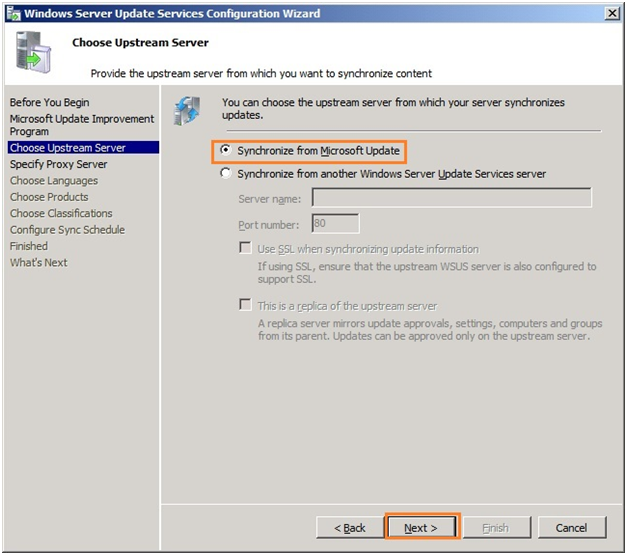
21. In this window we have to select update server from where our WSUS server will be get updates. If we don’t have any other WSUS then we will select the 1st option that is “Synchronize from Microsoft update” else if we have any other WSUS server then we will select the other option “Synchronize from other Windows Server Update Services server” and fill the required info in below text field like Sever name , port number etc.
In our case we don’t have any another WSUS server so we will select 1st option and then click on “Next”.
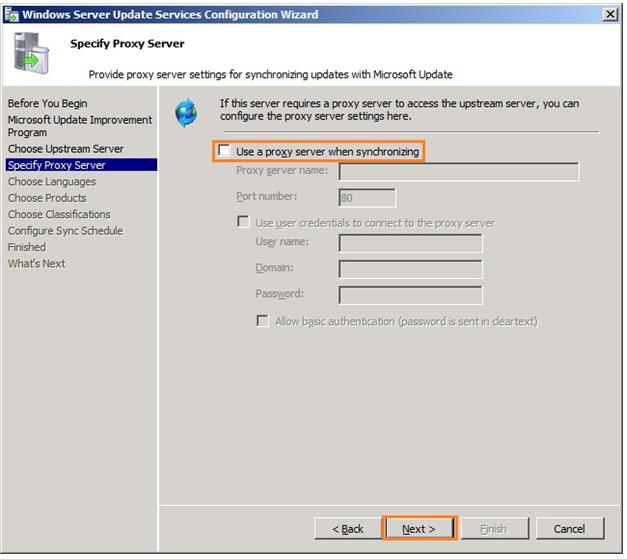
22. In this window we have to provide the proxy details if we are using any proxy to access internet else just click on “Next”
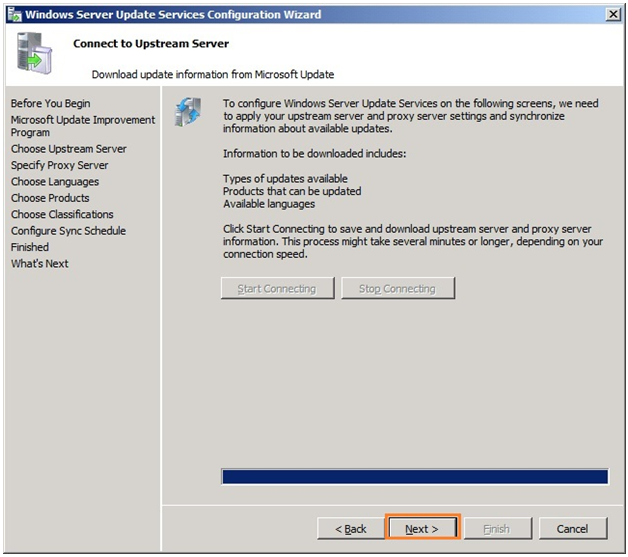
23. In this window we have to click on Start connecting so WSUS can communicate with Microsoft server to gather some information related to products. Information like available updates, available language etc.
After clicking on “Start Connecting” it will take some time.
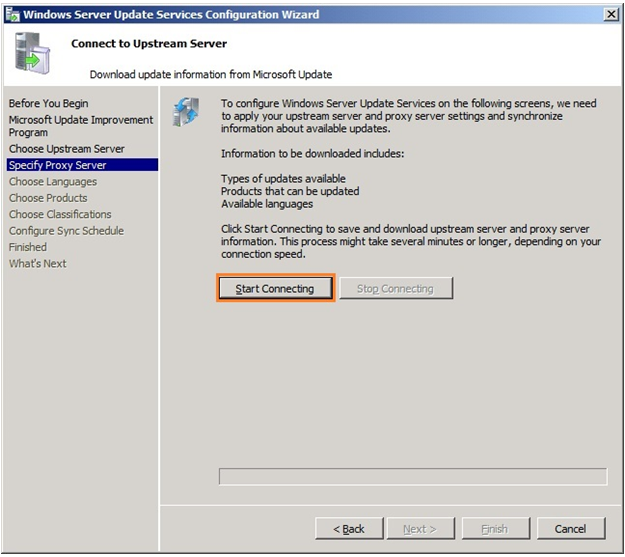
24. Once All information is gathered by WSUS server “Next” button will be highlighted and we can move on to “Next” step.
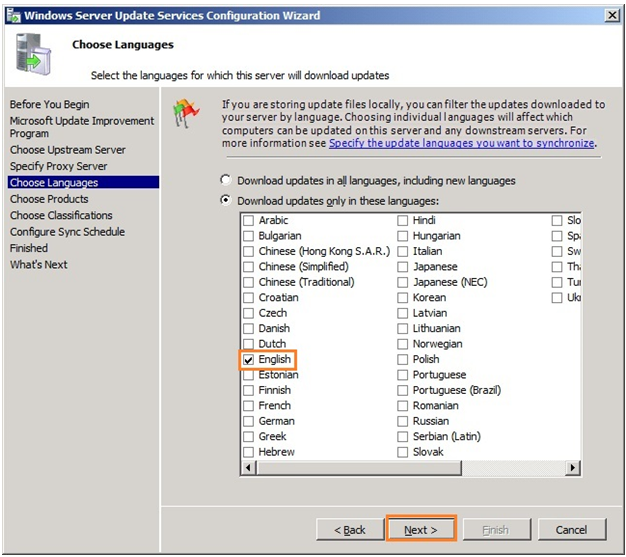
25. In this window we will get the list of all available language . we can select languages as per our requirement. Here we are going to select “English Language” and click “Next”.
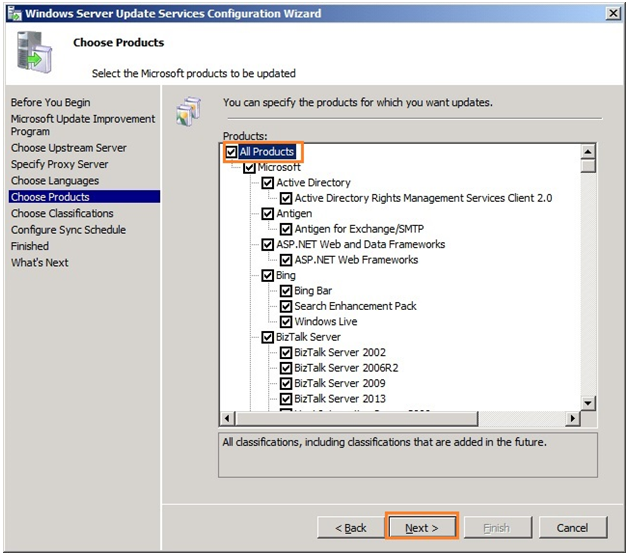
26. In this stage we will have to select the products for which we want to download the updates. Select check box as per Requirements and click “Next”.
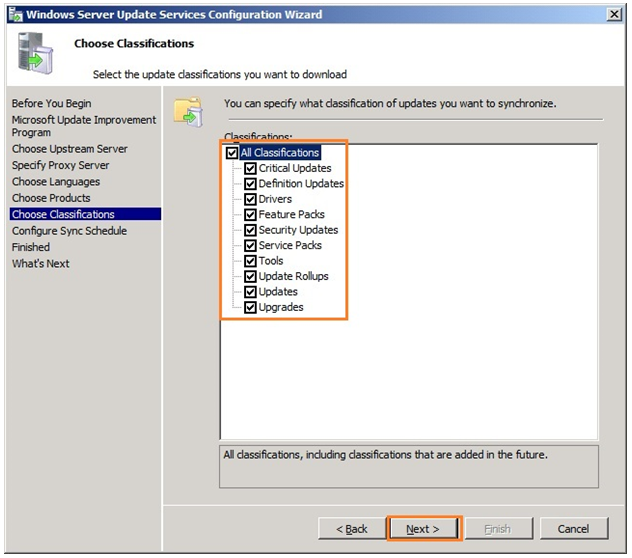
27. In this window we have to select what kind of updates we want to download . like Service Pack, Tools, Updates, Feature Packs etc. after section of updates types click on “Next”
28 . In this window we have configure the time when WSUS server will download the updates. If we want to download updates automatically then it’s good to select that time when there is no load or less load on network/internet. In our case we will done it manually so select “Synchronize manually” and “Next”

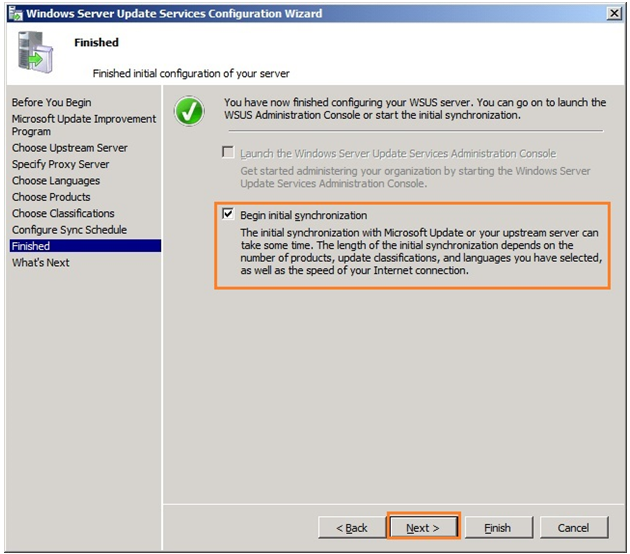
29. Once all configuration done we will come to finished window. If we want to initiate initial synchronization then check the check box “Begin Initial synchronization” and click “Next”.
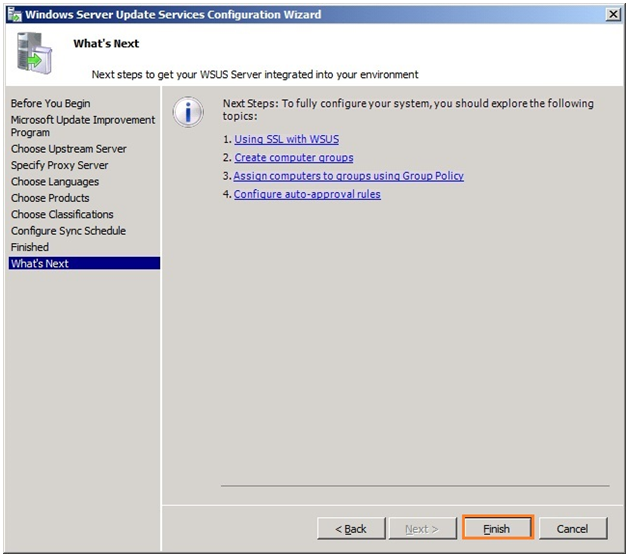
30. Once setup will be finished then the a window which contain the link, about the information like how to configure our system will be open. If we want know to more about the WSUS then click on the related link or just click on “Finish”.
31. Once setup will complete and all window will be closed we will go to client system.
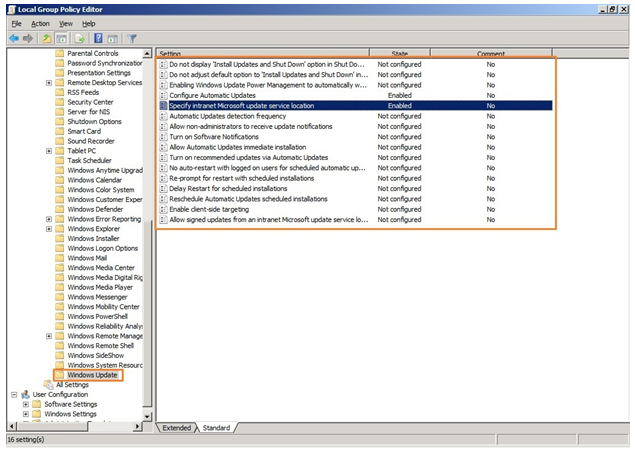
Click on Start > run and type “gpedit” and press “OK”, to open group policy management console.
Once Group Policy Management Console is opened then navigate to
Computer Configuration > Administrative Templates > Windows Component > Windows Update
Here we will see a lot of options related to Windows Update. Specially we have to configure WSUS Server address and what will be the mode of update and time.
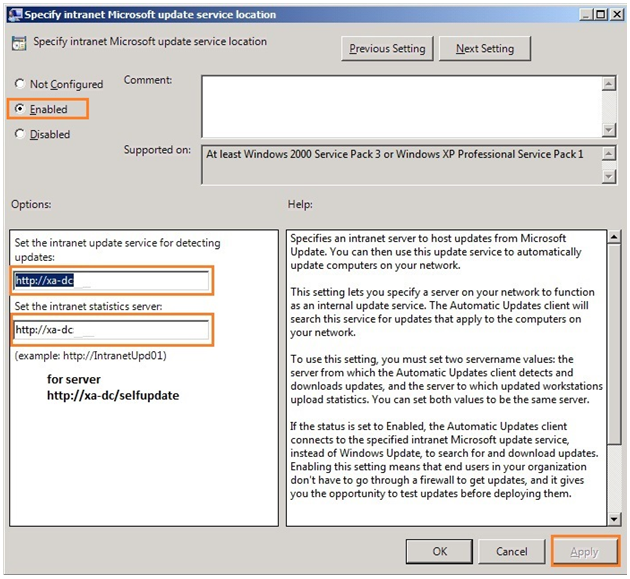
32. To configure update server address
Click on “Specify intranet Microsoft Update Service Location” and Enable it. After that enter the Update Service address in the both textboxes which is Http://xa-dc in our case.
If we want to update that system which is hosting the WSUS then the URL will be Http://xa-dc/selfupdate .
After entering the same click on “Apply” and then “OK”.
** here xa-dc is our WSUS hosting server name.
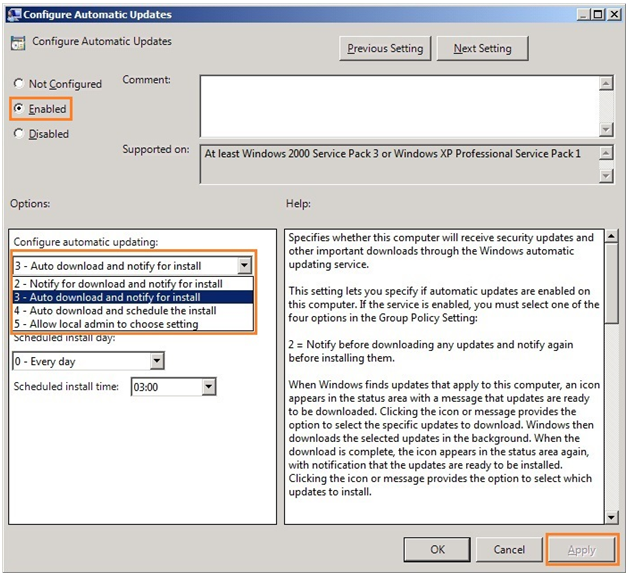
33. To configure mode of update and time when update should be install.
Click on “Configure Automatic Updates“ and enable it. Here we can select when updates should be download and install. We can schedule it to. Scheduling depends upon how updating is configured.
After selecting required option press apply and then ok.
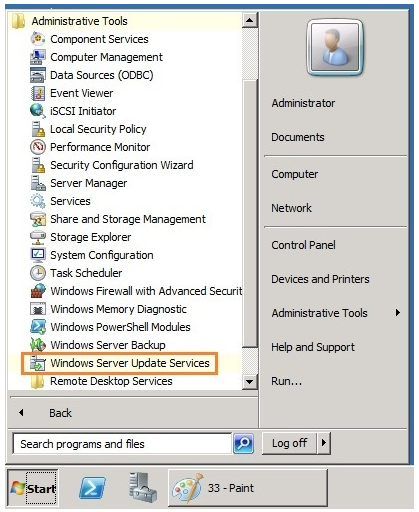
34. We can check and manage updates using “Update Service ” console. To access it
Go to > Start > Administrative Tools > Windows Server Update Services.
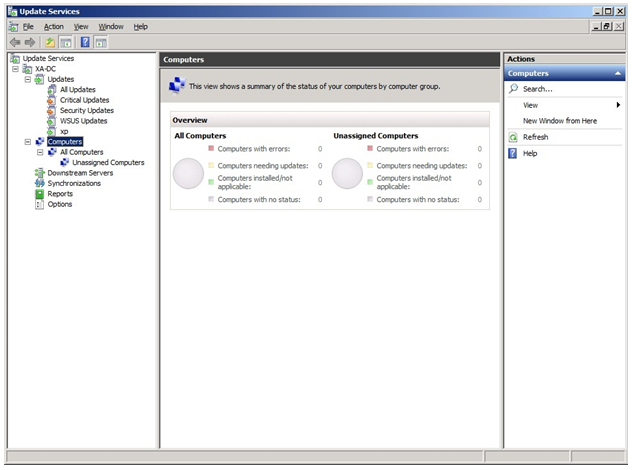
35. By using this console we can track update status.
-
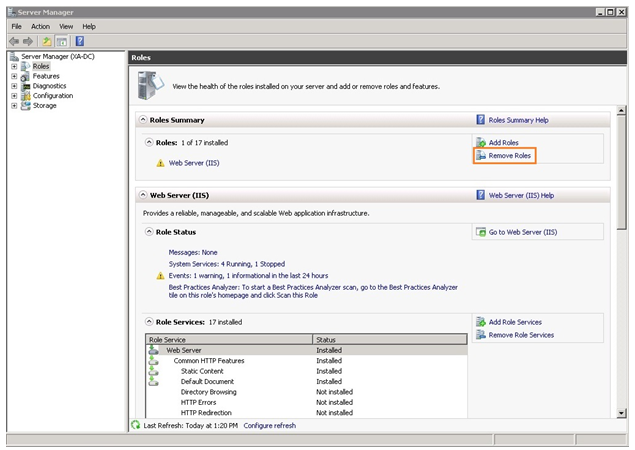
How to Uninstall WSUS Role.
To Uninstall WSUS role
-
Go to > Start > Server Manager then “Roles” tab and click on “Remove Roles”
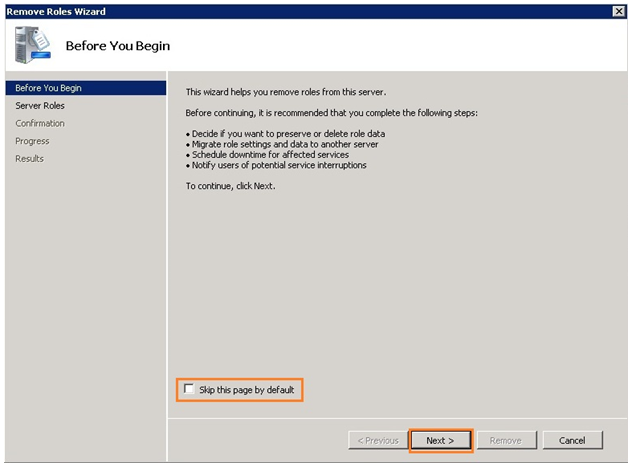
2. After this we will get a “Remove Roles Wizard” window , which prescribe us what to do before removing any role. If we don’t want to see this window every time while uninstalling any Role just check the “Skip this page by default” and click “next“.
** Before Uninstalling any role we should take backup for recovery purpose.
3. In This window just uncheck the “Windows Server Update Services” because we want to uninstall this role and click “Next”.

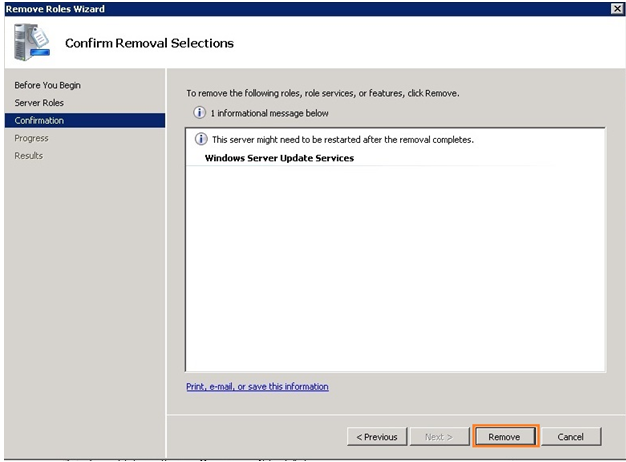
4. After that we will get a Confirmation window if we are sure to remove this role then click on “Remove”.
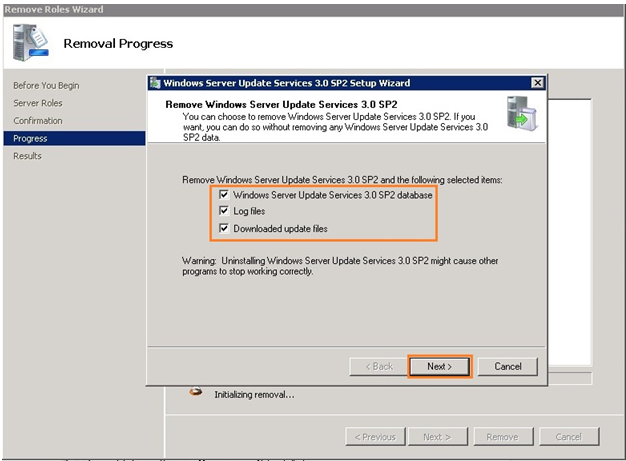
5. After that a child window will be open . here we have to select which kind of DATA we want to store or remove from the server. Just check those checkbox as per requirement and click "next".
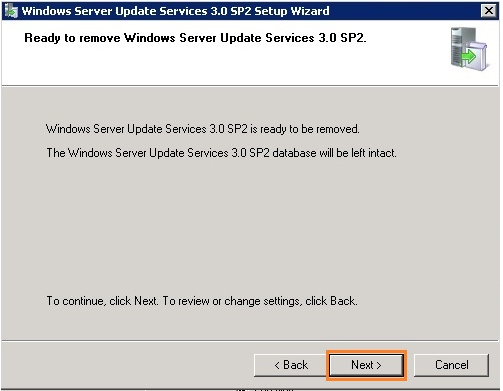
6. After that a confirmation window will be open if we are sure to remove that role click “Next”.
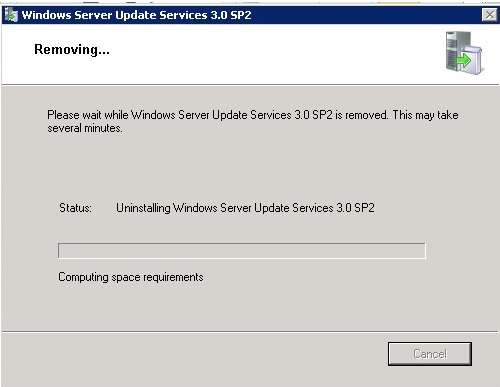
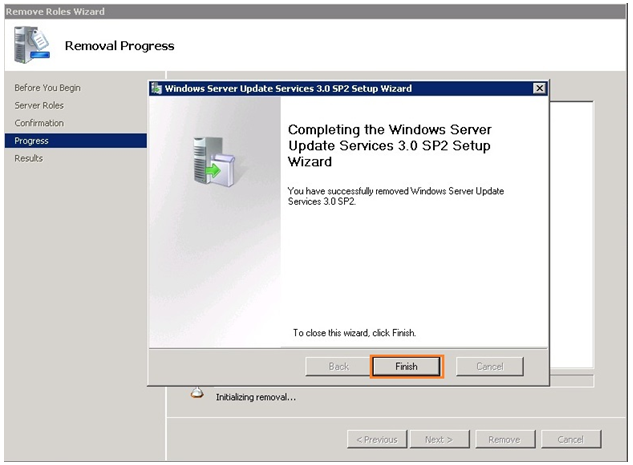
7. Once Uninstallation process will complete click on “Finish”.
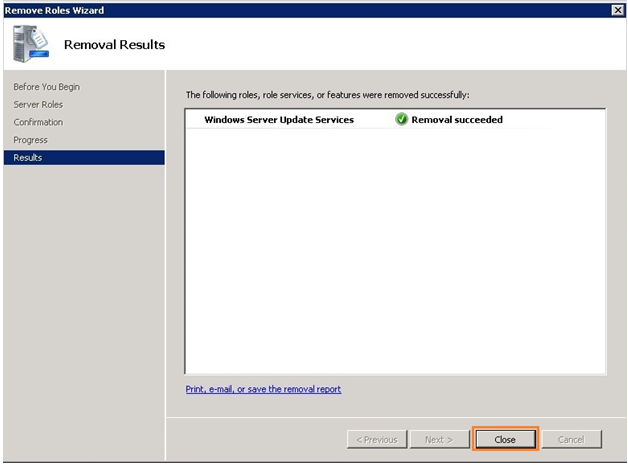
8. Once all process will complete we will get Removal Successful window. Here just click on "close". Finally uninstallation process is completed.
Drop your feedback
Note : You are required to be logged-in as a user to leave a feedback.